Step by step guide to creating Face-Tracking AR application in XCode


You probably have heard about Augmented Reality applications and this field has a bright future. So, learning to develop AR applications is an asset for software developers especially the AR enthusiast. Here, I am creating a step-by-step guide to create an AR Face tracking app in XCode.In this tutorial, I am assuming that the reader has a basic knowledge of XCode and swift language. So, let's get started.
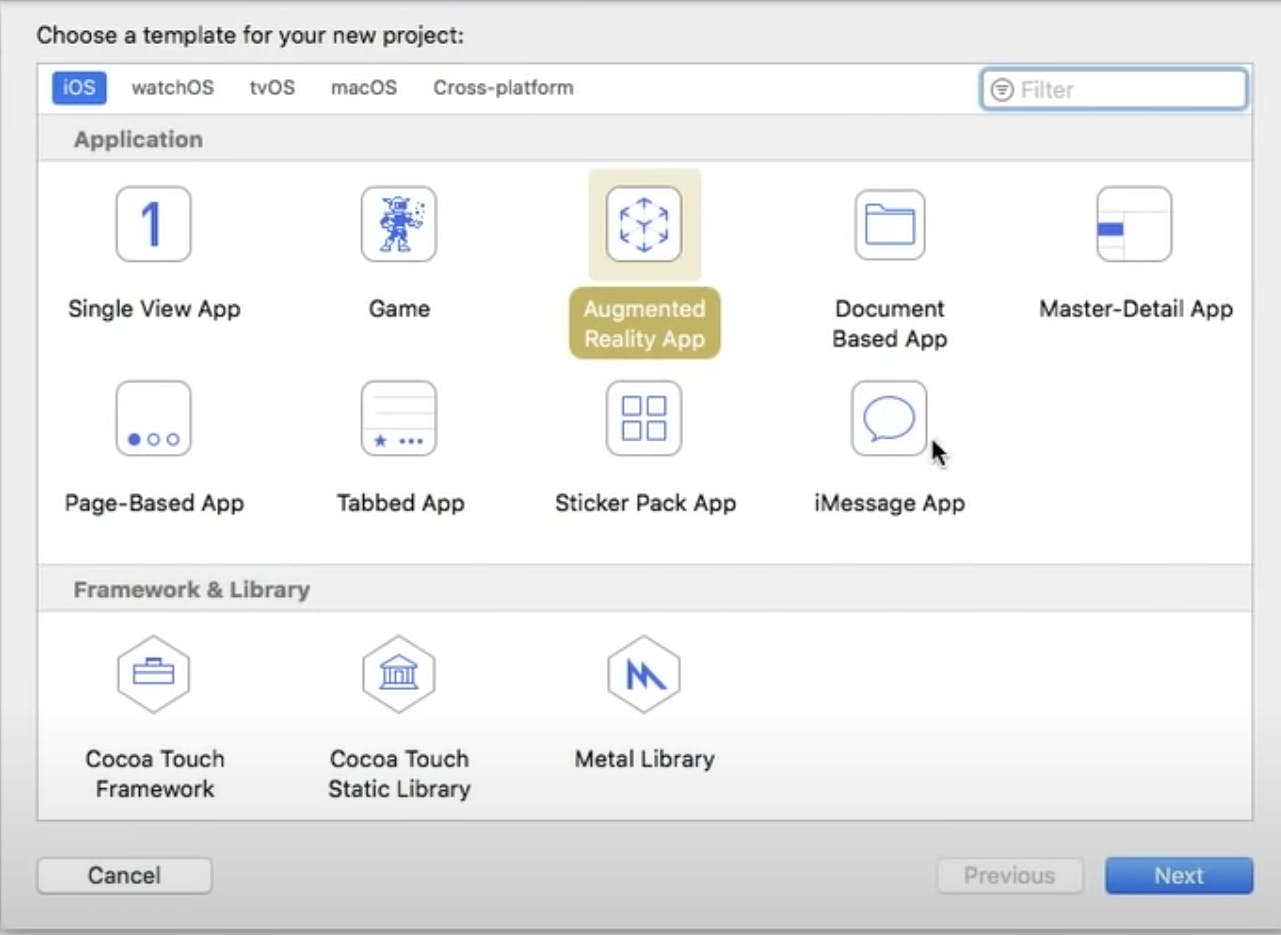
Firstly, create a new project in your XCode, choose Augment Reality App as the project template.
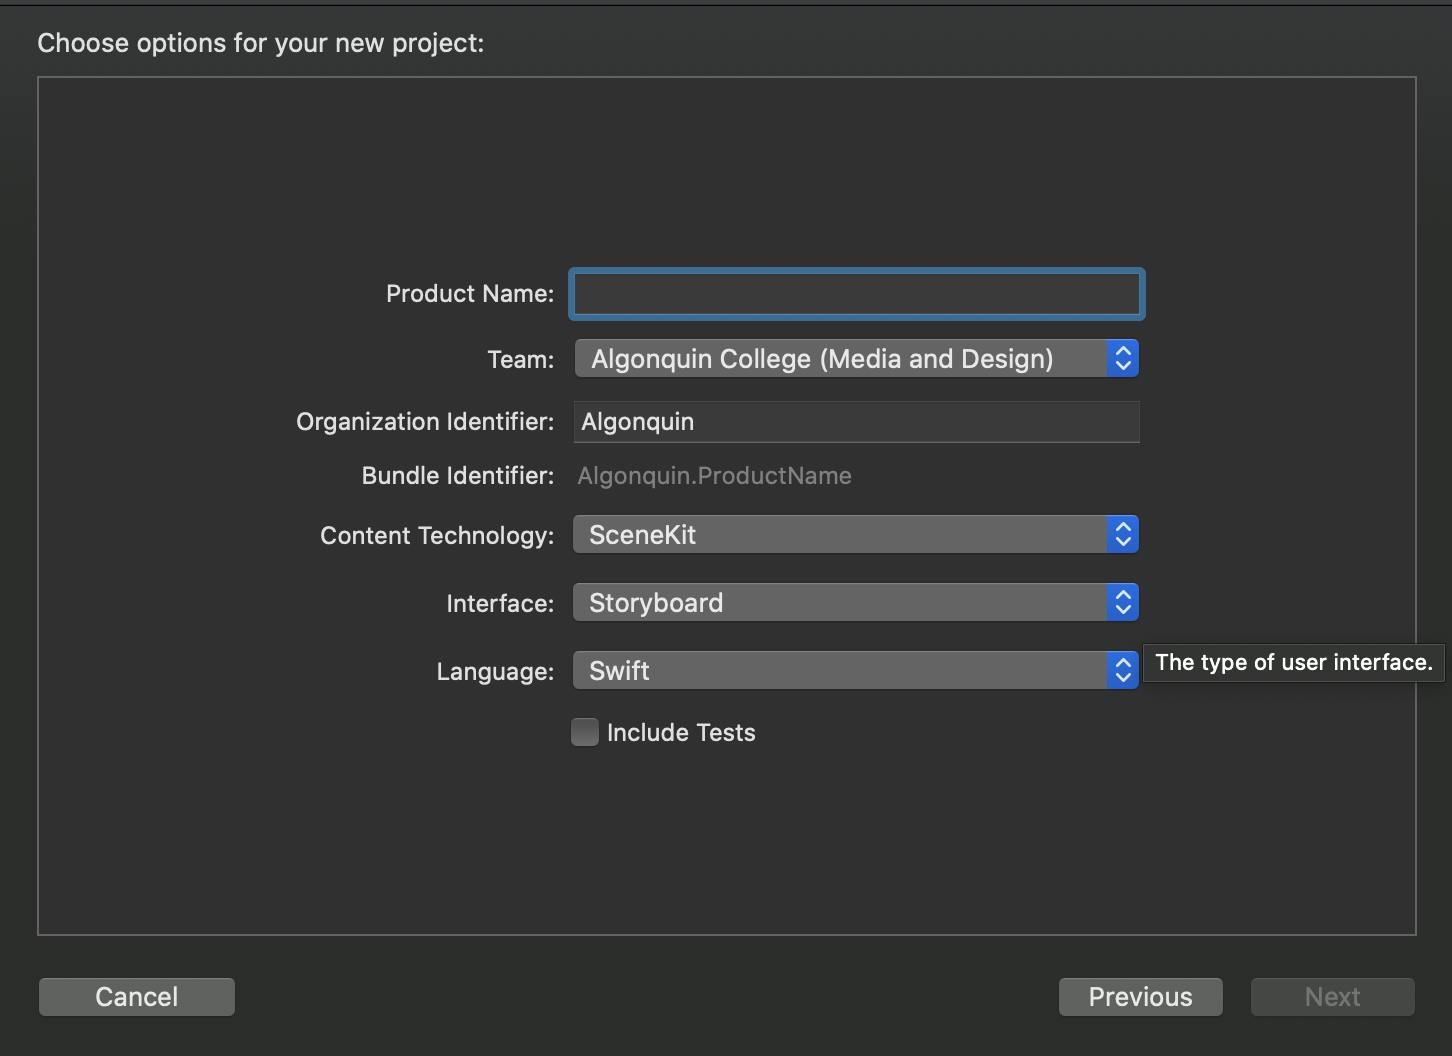
And chose Content Technology as Scene Kit and language as Swift.
After creating the project, you can add a label on your storyboard, where we will be displaying our tracked face expressions.And then edit the viewDidLoad() function as follows:
override func viewDidLoad(){
                   super.viewDidload()
                   // set the view's delegate
                   sceneView.delegate = self
                  // Show statistics such as fps and timing information
                   sceneView.showStatistics = true
                 guard ARFaceTrackingConfiguration.isSupported else{
                     fatalError("FaceTracking is not supported in this device")
}
}
By default, the code template creates a scene from the art.scnassets 3D object. We do not need that for our face tracking project so we can delete that. And then with a guard statement we need to check if the device supports the face tracking AR feature or not.
Nextly, we need to alter viewWillAppear() function.Here, change the configuration constant from ARWorldTrackingConfiguration to ARFaceTrackingConfiguration.Then, the configuration is executed with sceneView.session.run(configuration) method. This line will run the face tracking configuration to track the face in the view and, viewWillDisappear() function pauses the configuration as soon as the face disappears from the view.
Now, we need to add the following code in ARSCNViewDelegate's renderer nodeFor anchor function to create a tracking mesh on the face.
func renderer(_ renderer: SCNSceneRenderer, nodeFor anchor: ARAnchor)->SCNNode?{
let faceMesh = ARSCNFaceGeometry(device: sceneView.device!)
let node = SCNNode(geometry: facemesh)

node.geometry?.firstMaterial?.fillMode = .lines
return node
}
with this code, we are creating a node that will be rendered on the face.FillMode for the face mesh can be lines or fill.The faceMesh created with the above code would be static and will not update. To update the faceMesh we need to add the following function and code to our project.
```func renderer(_ renderer: SCNSceneRenderer, didUpdate node: SCNNode, for anchor: ARAnchor){ if let faceAnchor = anchor as? ARFaceAnchor, let faceGeometry = node.geometry as? ARSCNFaceGeometry { faceGeometry.update(from: faceAnchor.geometry)
facialExpressions(anchor: faceAnchor)
DispatchQueue.main.async{ self.uiLabel.text= self.activity } } }
In the code above, we have called the function ***facialExpressions(anchor: faceAnchor)*** where we are getting different facial expressions from ***blendShapes*** dictionary. Following code will track some facial activities.


```func facialExpressions(anchor: ARFaceAnchor){
let smileLeft = anchor.blendShapes[.mouthSmileLeft]
let smileRight = anchor.blendShapes[.mouthSmileRight]
let cheekPuff = anchor.blendShapes[.cheekPuff]
let tongue = anchor.blendShapes[.tongueOut]

self.activity = "........"

if ((smileLeft?.decimalValue?? 0.0) + (smileRight?.decimalValue?? 0.0))>0.9{
self.activity = "you are smiling.."
}
if cheekPuff?.decimalValue ?? 0.0 > 0.1{
self.activity ="Your cheeks are puffed ."
}
if tongue?.decimalValue?? 0.0>0.1{
self.activity = "Do not stick your tongue out!"
}
}
You can add more activities to track here. With this, we have completed an AR face tracking application. Run your code on physical device to check the result.